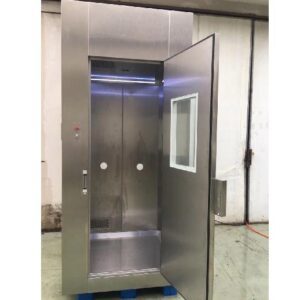
In the world of clean-room technology, ensuring the safety of technicians and the integrity of the environment is paramount. High-efficiency particulate air (HEPA) filters play a vital role in this process, and their maintenance is crucial to sustaining a clean and contaminant-free space. In this article, we delve into the Bag In, Bag Out (BIBO) changeout procedure for safe change housings, shedding light on its importance and the steps involved.
Understanding the Significance of Safe Change Housings
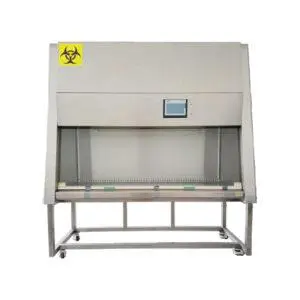
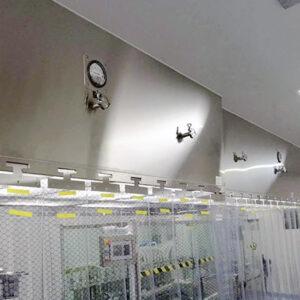
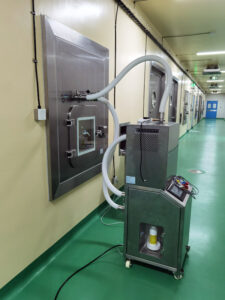
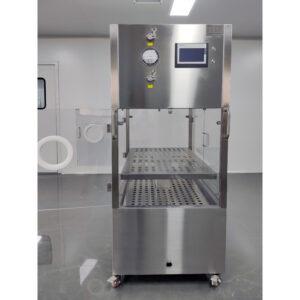
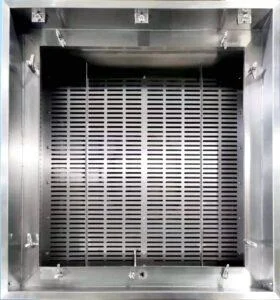
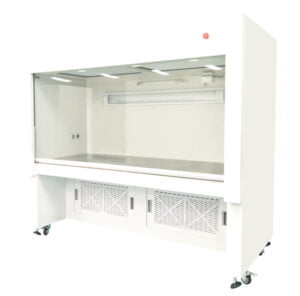
HEPA filters are the unsung heroes in clean-room environments, quietly trapping harmful pathogens and contaminants to maintain a pristine workspace. These filters can be found in wall or ceiling-mounted systems, as well as bio-safety cabinets, where they ensure that the air remains free from potentially dangerous particles. However, even heroes need a change of guard eventually, and this is where safe change housings come into play.
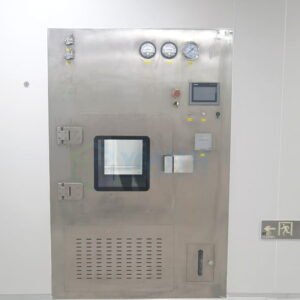
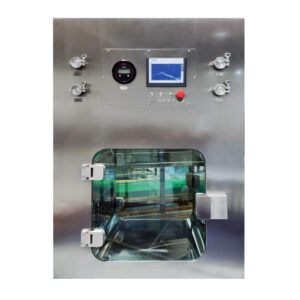
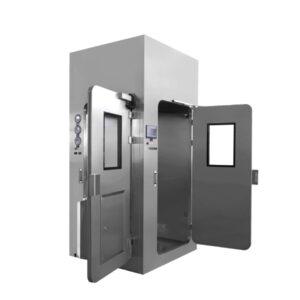
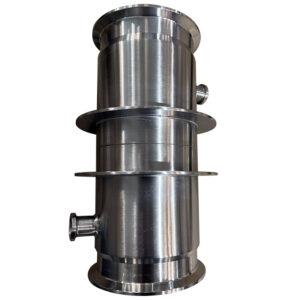
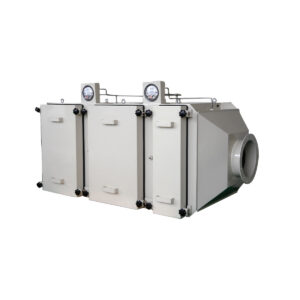
Safe change housings were initially developed in the nuclear industry to handle radioactive airflow. Over time, their application extended to pharmaceutical and biochemistry fields to safeguard technicians from harmful chemicals and micro-organisms. The complexity of safe change filter change-outs means that they should always be entrusted to authorized technicians, ensuring the highest level of safety and efficiency.
The Bag In, Bag Out Filtration Method
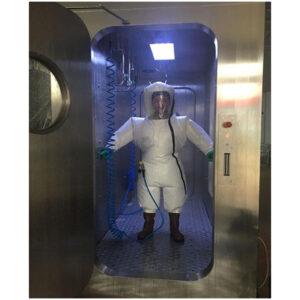
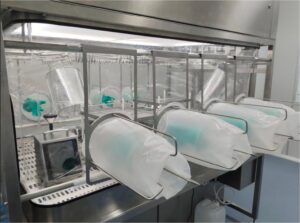
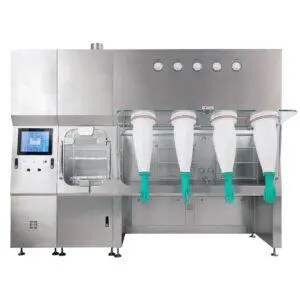
Many HEPA filter systems employ the bag in, bag out method when it’s time for a filter replacement. This method adds an extra layer of protection for technicians. Before commencing the replacement process, personnel should don personal protective gear, including isolation suits, gloves, and respirator masks, as a precautionary measure.
Here’s a step-by-step breakdown of the BIBO procedure:
1. Switch Off the Filtration System: The first step is to ensure that the filtration system is switched off or that the airflow has been redirected elsewhere. This minimizes the risk of accidental exposure.
2. Equalize Pressure: Check that the internal pressure has equalized with the external pressure. If the safe change housing is equipped with isolation shutoff dampers, close them before opening the housings.
3. Decontamination (if required): If the filter is located in a bio-safety environment with micro-organism manipulation, perform decontamination procedures.
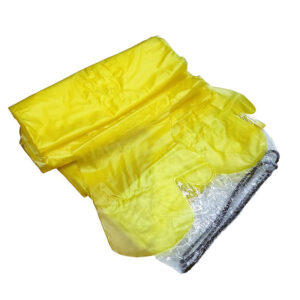
4. Remove the Old Filter: Once the lid is off, the old filter bag and the new filter bag should be thoroughly inspected for damage. If both bags are intact, the old filter can be removed without exiting the bag. Secure the bag in two places, cut it between the seals, and remove the old filter.
5. Install the New Filter: Place the new filter into the safety bag, positioning it over the end of the previous bag, which can be secured in place. Ensure that the bags are properly rolled up and not obstructed in any way.
6. Check Airflow: After closing the filter housing, it’s essential to check the airflow through the filter and perform a DOP leak test to ensure optimal functionality.
Throughout this process, remember that HEPA filters are fragile and should be handled with great care. Regular checks after replacement are crucial to ensure the continued effectiveness of the filter.
YOUTH Air Tech – Your Clean Air Equipment Supplier
At YOUTH Air Tech, we take clean air seriously. As manufacturers and suppliers of clean air equipment, including HEPA filters and safe change housings, we are dedicated to providing top-notch solutions for your clean-room needs. If you have any questions about safe change housings, HEPA filters, or any of our products, our customer support team is here to assist you.
In conclusion, the Bag In, Bag Out changeout procedure for safe change housings is a meticulous process designed to protect both technicians and the clean-room environment. It’s a critical step in ensuring the continued functionality of HEPA filters and maintaining the integrity of your workspace. If you have any further questions or need assistance with clean air equipment, don’t hesitate to reach out to YOUTH Air Tech.
Frequently Asked Questions (FAQs)
1. How often should HEPA filters be replaced in a clean-room environment?
- The replacement frequency depends on various factors, including the level of contaminants present. Typically, it’s recommended to replace HEPA filters every 6 to 12 months.
2. Can I perform a BIBO filter changeout without specialized training?
- No, safe change filter replacements are complex procedures that should only be carried out by authorized technicians with the appropriate training and equipment.
3. What are the consequences of not replacing HEPA filters on time?
- Delayed filter replacements can lead to reduced filtration efficiency, compromising the cleanliness of the environment and potentially endangering personnel.
4. Are there alternatives to the bag in, bag out method for filter replacements?
- Yes, there are alternative methods, such as robotic systems, for replacing HEPA filters in certain environments. However, BIBO remains a widely used and reliable method.
5. How can I contact YOUTH Air Tech for product inquiries or support?
- You can reach out to us through our bag in bag out system details provided on our website, and our customer support team will be happy to assist you with any questions or requests.
Related Contents:
- Bag-In/Bag-Out (BIBO) Systems: Operation and Maintenance Guide
- The Comprehensive Guide to Bag-in-Bag-Out (BIBO) HEPA Filter Replacement
- Understanding YOUTH’s Bag-In-Bag-Out (BIBO) Systems: Ensuring Safety and Clean Air
- The Ultimate Guide to YOUTH’s Bag-In-Bag-Out (BIBO) HEPA Filter Replacement
- Installation, Operation, and Maintenance of Cleanroom Equipment: A Comprehensive Guide
- Unlocking the Power of Clean Room Purification: Four Vital Conditions
- Mastering Clean Room Technology with Fan Filter Units (FFUs)
- The Ultimate Guide to YOUTH’s Bag-In-Bag-Out (BIBO) Systems: Ensuring Safety and Clean Air
- Ranking the Best “Cleanroom” Air Filter Brands of 2023


