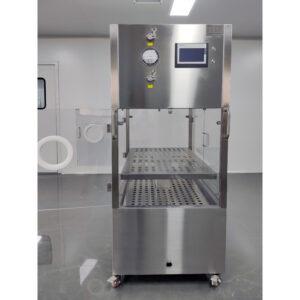
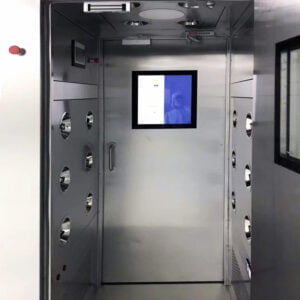
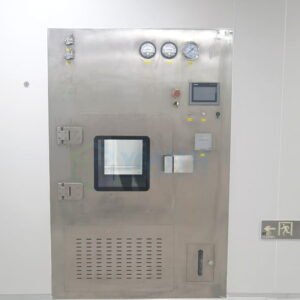
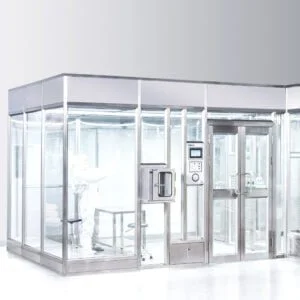
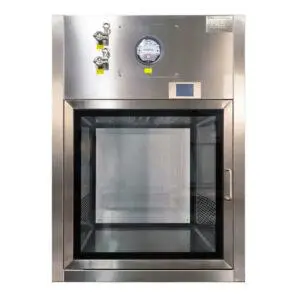
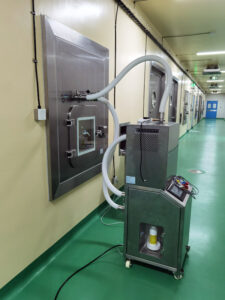
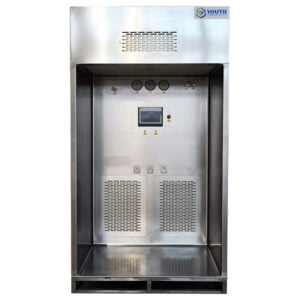
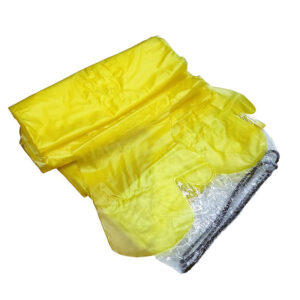
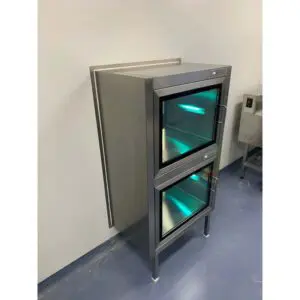
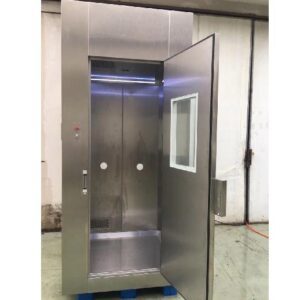
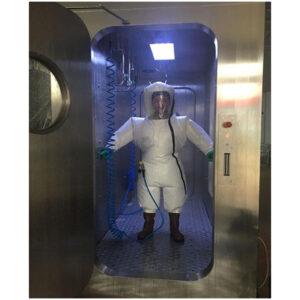
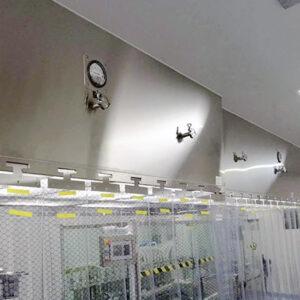
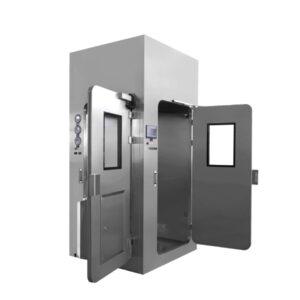
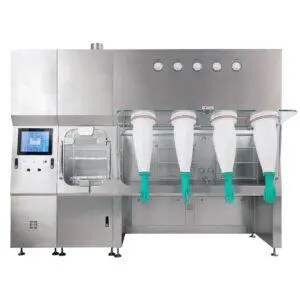
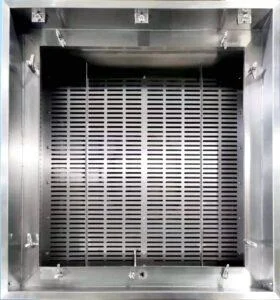
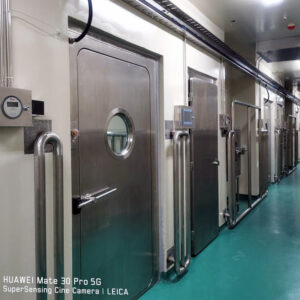
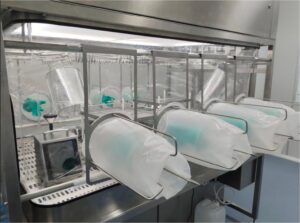
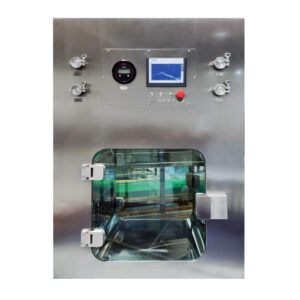
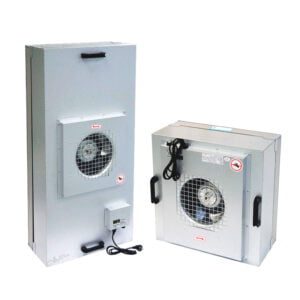
Installing a Vaporized Hydrogen Peroxide (VHP) passbox is a critical process that requires precision and adherence to manufacturer specifications to ensure proper function and safety. The following step-by-step guide provides a framework for the installation of your VHP pass-through, aiming to facilitate a smooth setup and integration into your controlled environment.
Preparation Phase
- Site Assessment: Evaluate the proposed installation area for suitability, including space adequacy, load-bearing capacity, and accessibility.
- Unboxing: Carefully unbox the VHP passbox, preserving all accompanying documentation and warranty details.
- Cross-Checking Contents: Verify that all components, tools, and accessories listed in the manual are present.
Safety Protocol
- Safety Gear: Ensure that installation personnel are equipped with appropriate safety gear, including gloves, safety glasses, and any other required protective equipment.
- Hazard Awareness: Brief the installation team on potential hazards and emergency procedures.
Positioning and Alignment
- Placement: Move the passbox into the designated location, using lifting equipment if necessary to prevent physical strain or damage to the unit.
- Leveling: Adjust the feet or base of the passbox to ensure it is perfectly level, using a spirit level for accuracy.
Power and Utilities Setup
- Power Connection: Connect the passbox to the power supply, adhering to local electrical codes and regulations.
- Backup Systems: If applicable, set up any backup power systems or redundancies.
System Configuration
- Program Initialization: Follow the manufacturer’s instructions to initialize and configure the system software.
- Operational Settings: Input the default operational settings, such as sterilization cycle parameters and alarms.
Testing Phase
- Diagnostic Tests: Conduct initial diagnostic tests to check for electrical and mechanical soundness.
- Dry Run: Perform a non-sterile trial run to ensure that doors, interlocks, and pass-through mechanisms operate as expected.
Sterilization Validation
- Biological Indicators: Use biological indicators to validate the effectiveness of the sterilization cycle.
- Chemical Indicators: Use chemical indicators to confirm appropriate VHP concentration and distribution.
Final Steps
- Sealing and Finishing: Seal any joints between the passbox and the cleanroom wall using a non-particulate, non-VHP-reactive material.
- Training: Train the end-users on the correct operation of the passbox, emphasizing adherence to SOPs.
- Documentation: Record the installation process and outcomes, updating your facility’s equipment inventory and maintenance schedule.
Post-Installation
- Manufacturer Inspection: If required, have the manufacturer inspect the installation and sign off on the complete setup.
- Routine Check-Ups: Schedule regular inspections and maintenance as recommended by the manufacturer.
Conclusion
A successful VHP passbox installation is a meticulous process that, when done correctly, provides a robust and integral part of your stringent contamination control measures. By following each step with attention to detail and in accordance with the provided instructions, your VHP passbox will be set up for optimal performance and long-term reliability.
Related Contents:
- Ultimate Guide to VHP Passbox Cleaning in Controlled Environments
- Bag-In/Bag-Out (BIBO) Systems: Operation and Maintenance Guide
- User Manual Insights: Getting the Most Out of Your VHP Passbox
- VHP Pass Box vs. Traditional Pass Box: A Comparative Analysis
- How to choose VHP Passbox?
- The VHP Passbox Decontamination Process Explained
- Cost-Benefit Analysis of Investing in a VHP Pass Box
- Understanding the Mechanism of VHP Sterilization in Pass Boxes
- The Ultimate Guide to YOUTH’s VHP Pass Box: Ensuring Sterility in Cleanroom Environments


